astrophotography

How to SHOOT THE MILKY WAY - COMPLETE BEGINNER'S GUIDE

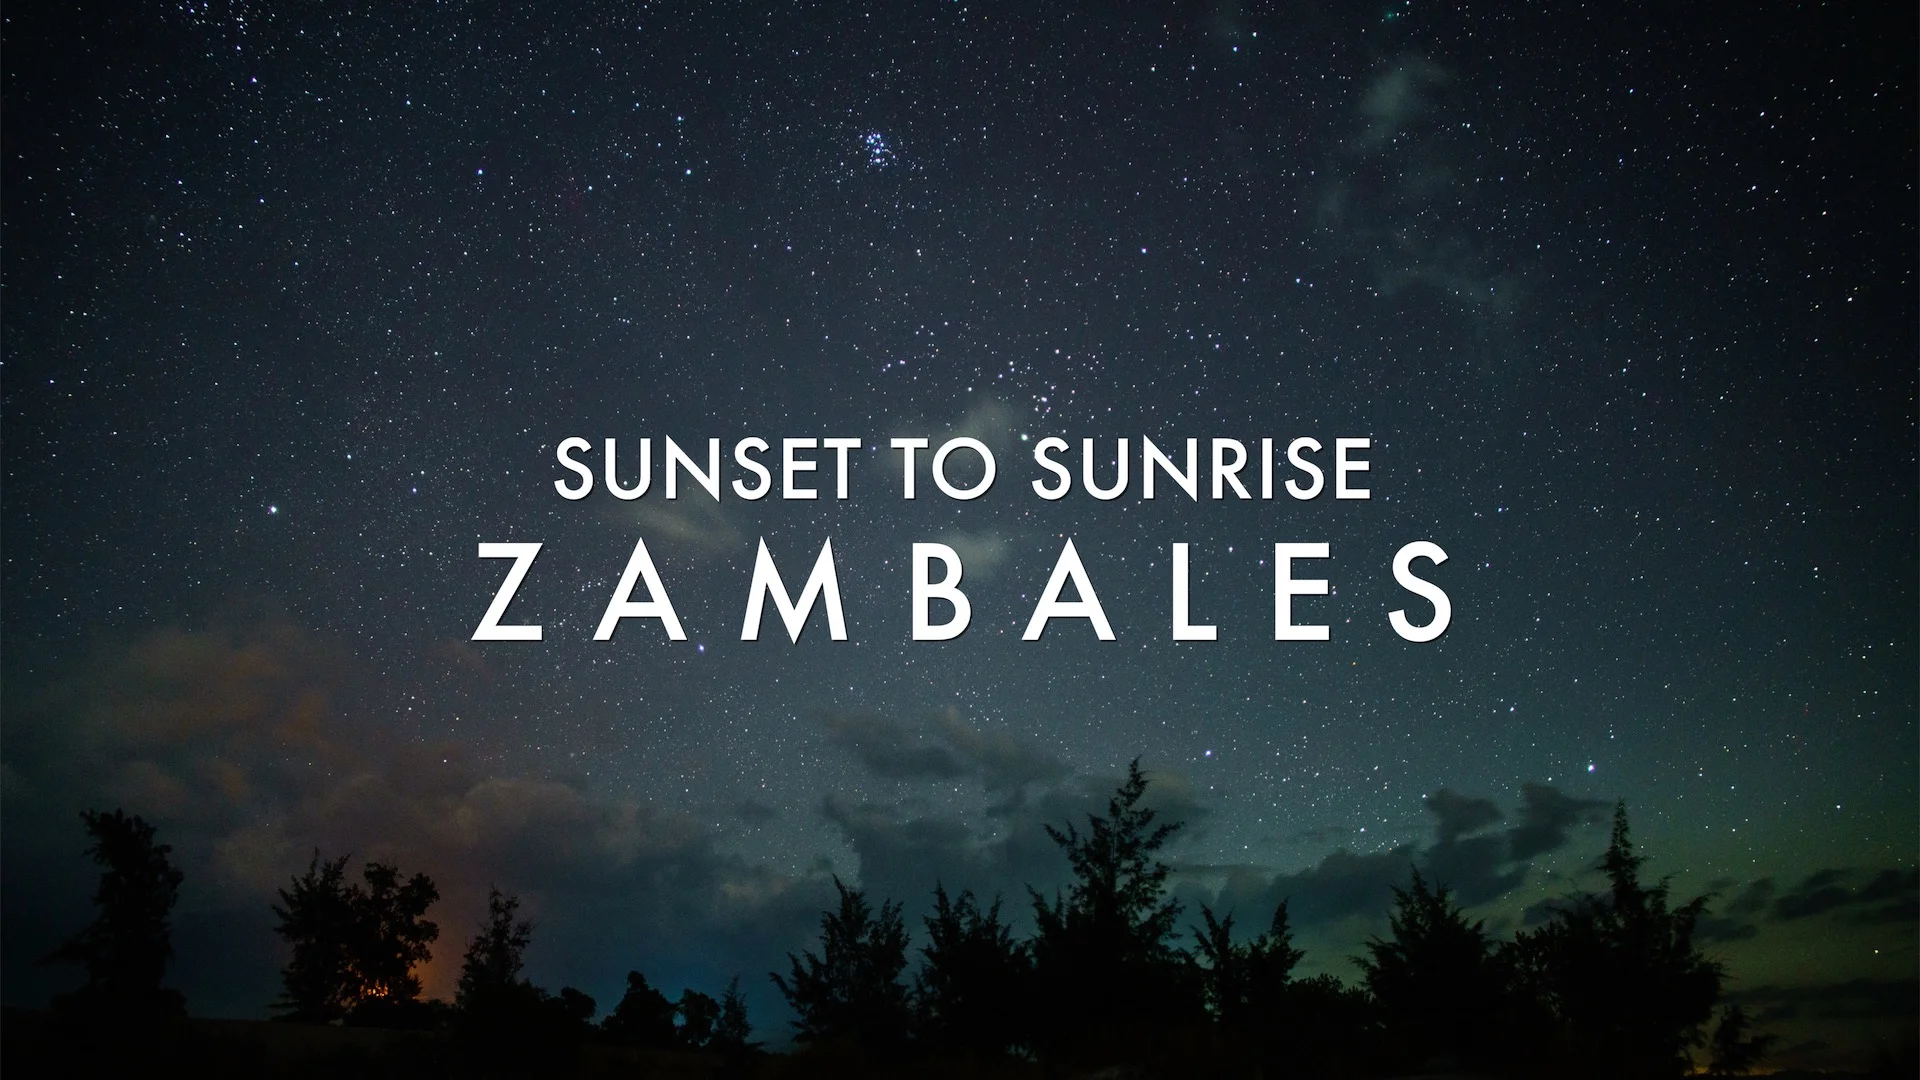
Get your first good shot of the Milky Way! This week’s video is a complete beginner's guide on how to shoot the Milky Way, covering gear, planning, shooting, and editing in Adobe Lightroom.

CONTENTS:

  • 0:22 GEAR

  • 3:09 PLANNING

  • 7:36 SHOOTING

  • 13:51 POST-PROCESSING

Shooting the Milky Way with a mobile phone: https://youtu.be/wToXZHpUwUc

LINKS TO GEAR AND APPS (Lazada links for PH viewers are affiliate links, the rest are normal links)

LENSES (2019)

CAMERA (2019, selection only)

TRIPODS

APPS AND WEBSITES

Gear used for tutorial:

  • Sony A6300

  • Sony Zeiss FE 55 f/1.8

  • MeFoto Roadtrip Tripod

  • Saramonic UwMic9

Music licensed via Epidemic Sound

Subscribe to my channel - http://www.youtube.com/AaronPalabyabChannel

Instagram: http://instagram.com/aaronpalabyab

Facebook: http://facebook.com/a.palabyab

Twitter: http://twitter.com/aaronpalabyab

Website: http://www.aaronpalabyab.com

Business Contact / Licensing:

aaron [at] aaronpalabyab.com

ABOVE - Zambales Time-lapse Film

Watching the sun, sky, and stars move over the Earth, shot over three trips to Zambales while exploring with photographer Angelo Mendoza.

Watch the behind-the-scenes vlogs here:

Part 1 - https://youtu.be/_dEmEhCb05s

Part 2 - https://youtu.be/XVz5ax20iRw

And follow Angelo to see his amazing shots from these trips: https://www.instagram.com/angelomendo

Shot and edited by Aaron Palabyab

GEAR

  • Sony A7RII

  • Sony 24-240 f/3.5-6.3

  • Samyang 24mm f/1.4 (EF mount)

  • Sony Zeiss 55mm f1.8

  • Sky-Watcher Star Adventurer Mini

  • MeFoto RoadTrip Tripod

  • Varavon A7 Battery Pack

EDITED IN

  • Adobe Photoshop Lightroom Classic

  • LRTimelapse 4

  • FCP X

MUSIC

“A Place of Refuge” by Dustin Lau

100% Clearance through Musicbed

Watch more of my time-lapse work: https://www.youtube.com/playlist?list=PLAoL430ePuoOJsxbeUMBbAt6zQTQJdxgw

All Night Astrophotography Adventure in Zambales!

An all-night astrophotography adventure in search of great night skies in Zambales to practice shooting with my new star tracker, the Sky-Watcher Star Adventurer Mini. Photographer Angelo Mendoza and I explore more areas of San Felipe and Botolan for landscape photography, starry landscapes, and time-lapse.

Mobile astrophotography stacking tutorial

Our previous photography road trip to Zambales

Follow Angelo Mendoza on Instagram

Don't forget to subscribe to see the final time-lapse film!

Gear used:

Vlog shot on iPhone X

Edited on FCP X

Music licensed via Epidemic Sound

Subscribe to my channel - http://www.youtube.com/AaronPalabyabChannel

Instagram: http://instagram.com/aaronpalabyab

Facebook: http://facebook.com/a.palabyab

Twitter: http://twitter.com/aaronpalabyab

Business Contact / Licensing: aaron [at] aaronpalabyab.com

Shooting the Milky Way With a Mobile Phone: Testing Long Exposures on the Asus Zenfone 3

Shooting the Milky Way With a Mobile Phone: Testing Long Exposures on the Asus Zenfone 3

Just back from Batanes as part of a large group of bloggers and other media people who were there to try out the photography features of the Asus Zenfone 3 line of mobile phones, courtesy of Asus Philippines. I was there mainly as a resource person on shooting the Milky Way, and I was intrigued about the possibility of pulling off Milky Way shots using a mobile phone. How did it turn out? Find out by watching the video above and seeing the final images below!

One of the headline features of the Asus Zenfone 3's camera is its built-in manual mode that allows you to go all the way to ISO 3200 and do long exposures of up to 32 seconds. (For comparison, using the $3.99 645 Pro app on my iPhone 6, I get up to ISO 2000 and a 1/2 second exposure at most, on f2.2.) Combined with its large aperture f/2.0 Largan lens, this would theoretically add up to the standard exposure settings for a wide angle Milky Way shot. For this post, I'm focusing exclusively on shooting the night sky and the Milky Way, saving my overall thoughts on the photography and video features of the Zenfone 3 for a post in the coming week.

Read More

Better Milky Way Photos in Under 5 Minutes: An Adobe Photoshop Lightroom Tutorial for Beginners

Following up on my previous guide to shooting the Milky Way, this quick and easy tutorial is meant to give beginners a solid starting point for editing Milky Way and night sky photos in Adobe Photoshop Lightroom. While it doesn't address the finer points of a perfect Milky Way edit, it will definitely give you a more visible and dramatic Milky Way galactic core and can save photos taken in less-than-ideal night sky conditions.

A summary of the basic workflow I followed in the video:

  1. Shoot in RAW with the right aperture/ISO/shutter speed for your setup. You want your stars to be pin-sharp and not streaking lines. Use this handy calculator to get the right settings. No RAW photo? Download the RAW photo used in the tutorial here.
  2. Set your camera calibration to Adobe Standard and turn on automatic Lens Profile Corrections for your lens. If not available, try to manually select your lens from the dropdown menu.
  3. Set Contrast to 100 and compensate overall brightness using the Exposure slider.
  4. Bring down Highlights slider to minimize effects of light pollution.
  5. Set white balance by maxing out Vibrance and Saturation, then moving the Temp/Tint sliders until you have a balance of yellow, blue, magenta, and green. Set Vibrance and Saturation back to 0.
  6. Increase Clarity to taste, taking care not to introduce unwanted artifacts and too much noise into the photo.
  7. Apply Noise Reduction. Attempt to minimize grain without smooshing out detail excessively.

From here, you can proceed to perfecting the photo with localized edits, composites, dodging and burning, etc. Hope this helps! Til next time.